How to Sell My Travel Trailer: 2026 Seller's Playbook
Want to sell my travel trailer fast and for a fair price? This 2026 playbook covers pricing, prep, photos, tow weights, and where buyers shop.

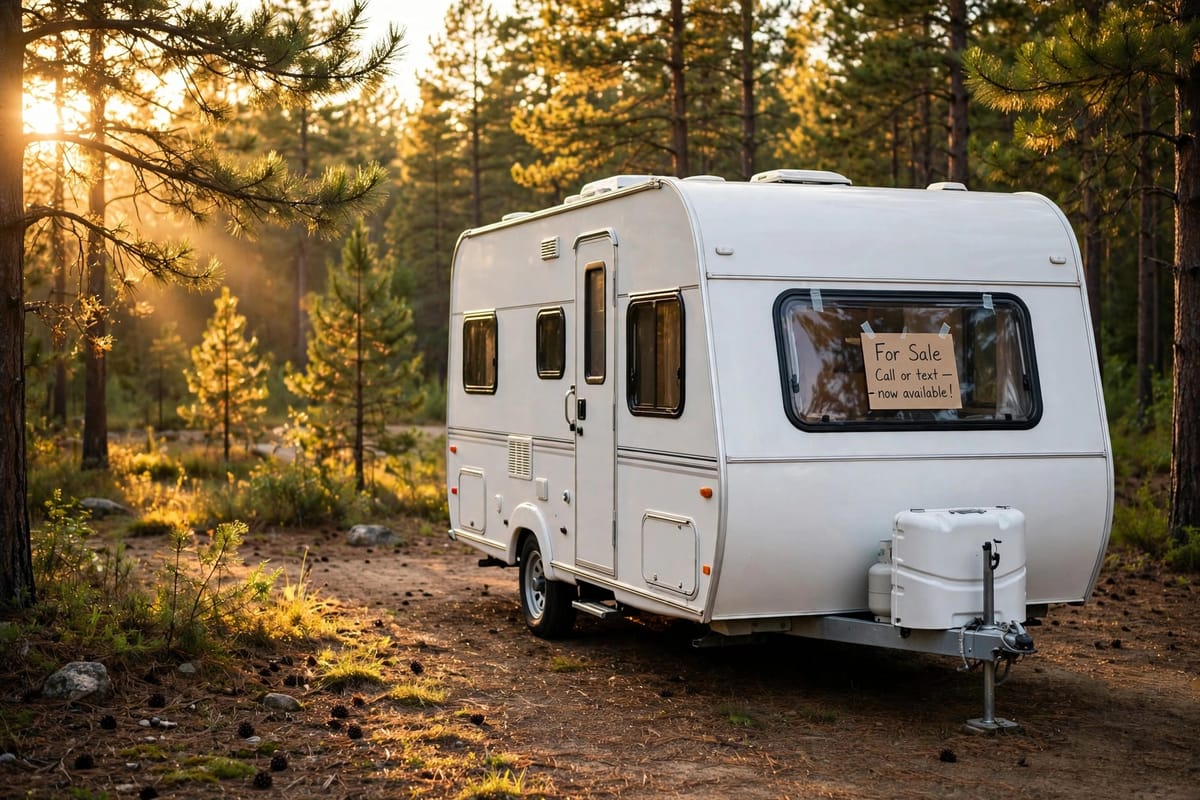
Selling a travel trailer is not like selling a car. A trailer buyer shows up with a checklist, taps your sidewalls listening for delamination, climbs onto your roof to check the sealant, and asks for your tire DOT codes before making an offer. To sell your travel trailer quickly and for a fair price, think the way these buyers think.
This playbook covers the process: pricing against real sold comparables instead of wishful dealer asking prices, prepping for the trailer-specific inspections that kill deals, photographing the layout so online buyers can picture themselves inside, doing the tow-vehicle math buyers need, and listing where trailer shoppers look.
Price Your Travel Trailer Like a Seller, Not a Dreamer
The number one reason travel trailers sit unsold is pricing. Price it 10 to 15 percent over market and you will get nothing but lowball offers for weeks; price it at or just under market and you will get real inquiries in days.
Start With the Book, Then Trust Sold Comparables
JD Power (formerly NADAguides) values are the standard starting guide for towables, and every serious buyer has looked yours up before contacting you. Check the base value for your year, make, and model — but know its limits. Factory options add very little resale value on a used travel trailer, so do not pad your asking price for extras you paid for new.
What matters more is what comparable trailers have actually sold for. Dealer asking prices are not sold prices. Search marketplace sold listings for your exact length and floorplan type (rear living, bunkhouse, couples' coach), within a few model years of yours, and price at or just under the recent sold range for your condition.
Price by Length, Floorplan, and Condition Tier
Travel trailer buyers shop by length first — a 24-footer and a 32-footer are not substitutes at any price. Narrow your comparables to within two or three feet of your unit's length and the same floorplan family before settling on a number. Then grade your condition honestly: excellent (no issues, everything serviced), good (minor wear, fully functional), or fair (known issues, priced for a handy buyer). If your honest grade is "good," do not price it as "excellent" — buyers will notice on the roof, and you will lose the deal and the week.
Prep for the Trailer-Specific Inspection Buyers Actually Do
Travel trailer buyers inspect differently than motorhome buyers because towables fail in specific, predictable ways. Before you list, walk your unit with a buyer's eyes and fix — or disclose — what you find. A visibly maintained trailer earns a premium, because it signals no hidden water damage.
Water is the enemy. Buyers check sidewalls with the tap test, listening for the hollow sound of delamination where fiberglass has separated from the backing — almost always a sign of past or current water intrusion. They inspect every roof seam and the sealant around vents, skylights, and the front cap, because a cracked seal is how water gets in. Window and door seals get checked for gaps and dry-rot, and any slide-out gets cycled while they watch the seals and listen for strain.
Buyers also check tire age, not just tread. Trailer tires age out: read the four-digit DOT date code (week and year of manufacture) on each sidewall, and replace anything older than roughly five to six years regardless of tread. Inside, they press the flooring around the toilet, shower, water heater, and sinks for soft spots that signal a rotted subfloor, and they check the A-frame and chassis for heavy rust or cracked welds. The thorough ones will ask you to run every appliance — fridge, furnace, water heater, A/C — on every power source, because an RV fridge that works on shore power but not on propane is a real and expensive problem.
Use this prep table as your pre-listing checklist:
| Inspection area | What buyers check | How to prepare |
|---|---|---|
| Sidewalls | Delamination via the tap test | Walk the walls yourself; disclose any hollow spots |
| Roof | Sealant cracks, ponding, soft spots | Reseal cracked seams; clean the roof |
| Windows and doors | Seal gaps, dry-rot, leaks | Replace dried weatherstripping; reseal as needed |
| Slide-out | Seal condition, smooth operation | Lubricate seals and mechanism; cycle it before showings |
| Tires | DOT date codes, cracking | Replace tires older than ~5–6 years; note ages in your listing |
| Flooring | Soft spots near plumbing fixtures | Press-test around toilet, shower, and sinks; repair or disclose |
| Frame | Rust, cracked welds | Treat surface rust; be upfront about anything structural |
| Appliances | Fridge, furnace, water heater, A/C on all power sources | Test each on shore power, propane, and battery; fix or disclose |
Photograph the Layout, Not Just the Rig
Most trailer ads fail at the first impression: one dim photo of the exterior at dusk, and nothing inside. Online buyers decide in seconds whether your trailer is worth the drive. You are photographing a floor plan, not a vehicle.
Shoot in bright daylight with every light on and every blind open. Stand in the corners with a wide-angle setting to capture whole rooms in single frames. Extend the slide-outs and the awning so buyers see the trailer at full living size. Open the storage bays and pass-through so buyers can judge cargo space. Photograph every room — bedroom, bathroom, kitchen, dinette, bunks — and take one straight-on shot from the entry door looking down the full length of the coach; that floor-plan-style view is the single most useful photo for layout shoppers. Finish with close-ups of what differentiates your unit: the outdoor kitchen, the solar setup, the new mattress, the hitch hardware.
Stage a Small Space So It Feels Bigger
A travel trailer interior is typically 200 to 350 square feet, which means every object is visible and every odor is concentrated. Declutter ruthlessly: remove personal photos, kids' toys, countertop appliances you never use, and anything stored on the bed or dinette. You are selling square footage, and clutter steals it.
Neutral, light-colored bedding reads clean and makes the bedroom look larger in photos. Eliminate odors before your first showing: air the unit out fully, clean and flush the holding tanks, and check under sinks and in storage bays for the musty smell of old leaks. A deep clean of fabrics plus a day or two with a dehumidifier running can transform how the unit presents.
Do the Tow-Vehicle Math in Your Listing
Towability is the first question every travel trailer buyer asks, and sellers who answer it upfront get more qualified inquiries. List three numbers clearly: the dry (unloaded) weight, the GVWR (maximum loaded weight), and the hitch (tongue) weight. Buyers use these to check against their truck's ratings; leaving them out forces every shopper to ask — or to move on.
If your trailer is genuinely towable by a half-ton pickup, say so — "half-ton towable" is one of the strongest selling points in the market because it matches the truck most buyers already own. But be honest: do not round the dry weight down or quote the brochure weight of a stripped unit when yours is optioned up. Include your weight-distribution hitch and sway control in the sale if you have them — it is one less purchase the buyer has to make.
Where Travel Trailer Buyers Actually Shop
Travel trailer buyers will travel for the right unit. A motivated shopper will drive several states for the right bunkhouse or couples' coach at the right price, because trailers tow home easily and the savings justify the trip. That is why national online RV marketplaces matter so much: list where the whole country's trailer shoppers are browsing, not just your neighbors.
Local classifieds still work for quick, as-is sales — especially for older or project-grade units where the buyer pool is handy locals. Price these aggressively, because local buyers are bargain hunting. RV show season (late winter through early spring in most regions) is worth watching too: a well-timed listing can ride the wave of buyers who walked a show floor and decided to buy used instead of new.
Dealer consignment is the convenience option: the dealer handles the listing, showings, and paperwork. The tradeoff is the commission — typically a meaningful percentage of the sale — plus you lose control over pricing and timing. For most private sellers, listing nationally and handling showings yourself nets more for a few weekends of effort.
How to Sell a Travel Trailer Fast
What paperwork do I need to sell my travel trailer?
Should I fix everything before I list, or sell as-is?
How do I handle a buyer who wants a professional inspection?
Is it safe to let a stranger tow my trailer for a test pull?
Do I need to be present for every showing?
List in the Right Season, Then Close Clean
Timing matters more for travel trailers than for most RV types, because demand tracks camping season. Spring is typically the strongest window: buyers are planning summer trips and shopping with urgency. List early in the season at a market price for the most traffic.
| Season | Pros | Cons |
|---|---|---|
| Spring | Peak demand; fastest sales; strongest prices | Most competition from other sellers |
| Summer | Good impulse-buyer demand; easy daylight showings | Buyers are camping, not shopping, by mid-summer |
| Fall | Less competition; motivated deal hunters | Demand and prices soften |
| Winter | Year-round demand in Sun Belt states | Slow in northern states; weather complicates showings |
If you are in a Sun Belt state, winter is a legitimate selling season — snowbirds shop actively while northern markets are frozen. Everywhere else, price a fall or winter listing to move.
When the offer comes, keep the closing simple: have the title in hand or a clear lien payoff plan with your lender, agree on payment in advance (a cashier's check verified with the issuing bank, or a wire transfer), and complete a signed bill of sale. Fast closers had their paperwork ready before the first showing.